


About Our Rhinestones
At Planet Rhinestone, we believe every project deserves a little sparkle. Trusted by over 20,000 DIY creators, apparel designers, nail artists, and professional studios across the U.S., we're the rhinestone supplier crafters keep coming back to.
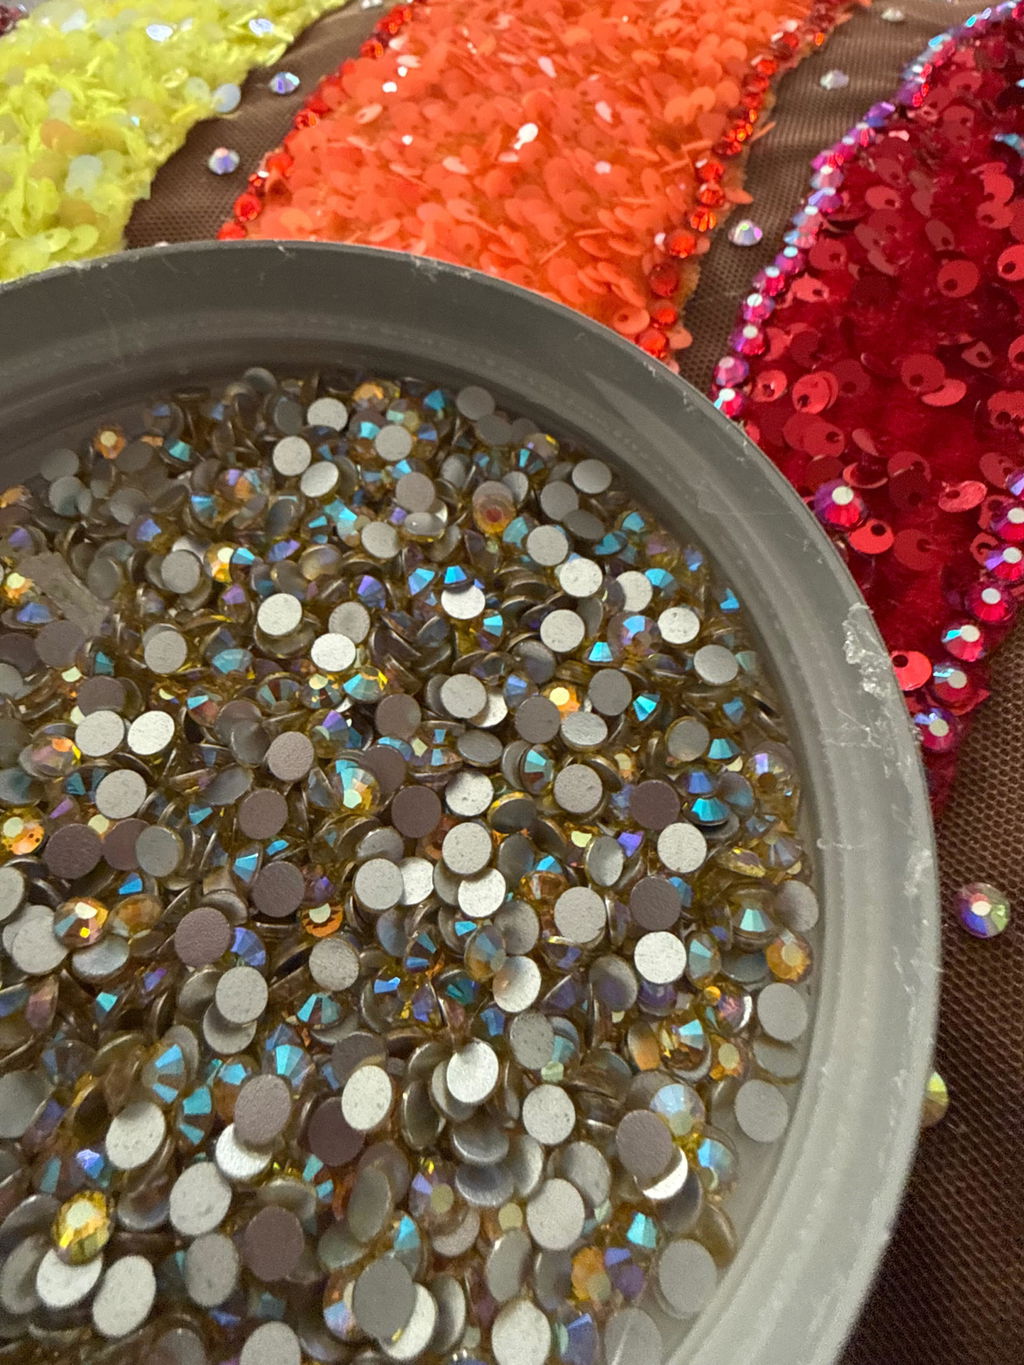
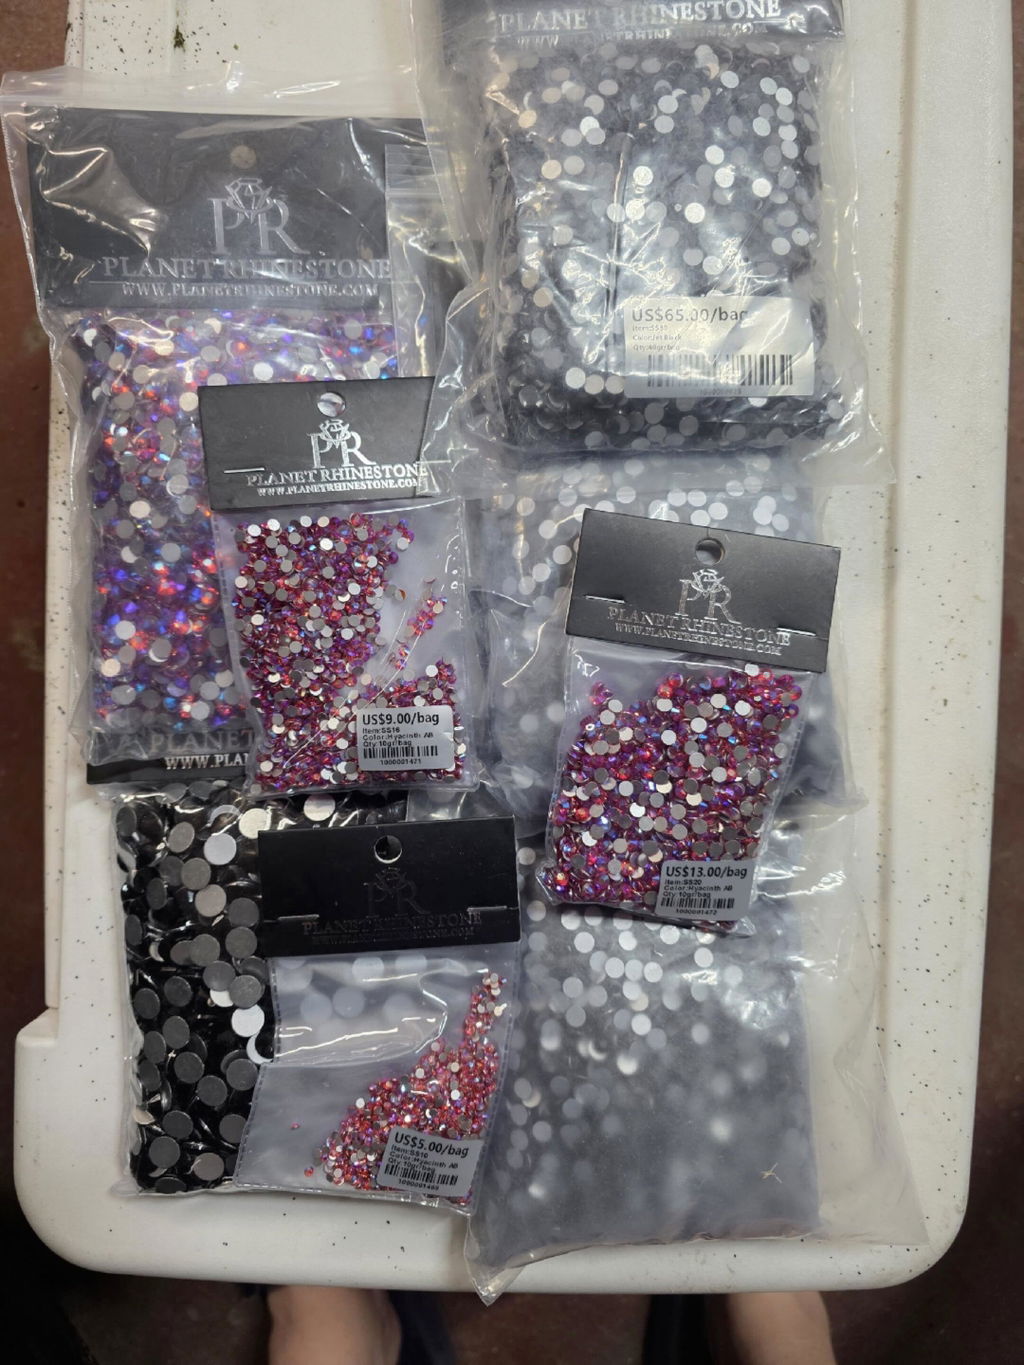
Our collection has something for every project and every budget. Shop glass rhinestones in flatback and hotfix styles, vibrant jelly rhinestones, wholesale rhinestones for bulk orders, rhinestone appliques, nail art crystals, and so much more. Need just a small pack to test a new color? We've got you. Stocking up by the gross for a big production? We've got that too. With sizes ranging from SS5 to SS40, you'll always find exactly what you're looking for.
Choose from hotfix rhinestones (iron-on, heat-activated), flatback rhinestones (glue-on), pointed-back stones, sew-on styles, or our fan-favorite jelly rhinestones in bold, translucent resin. Whatever you're creating, we make it easy to get the right stones fast with free U.S. shipping on orders over $75 and hassle-free returns.


OUR BEST SELLERS
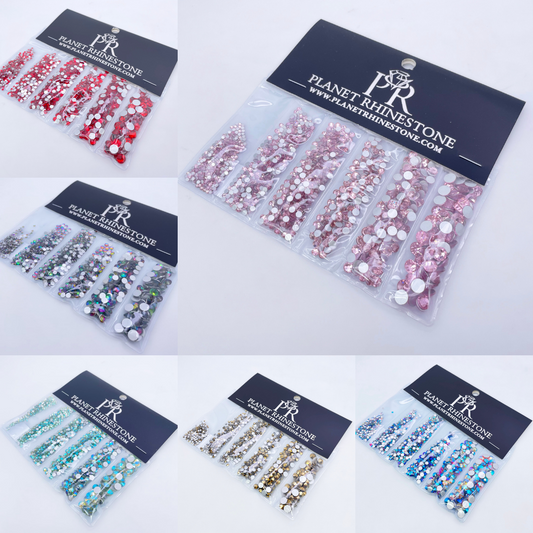
Multi-Pack Glass Rhinestones
The Pappus Jelly Rhinestones
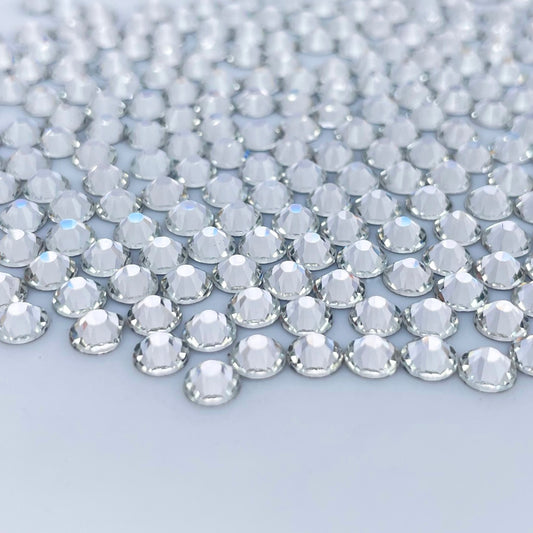
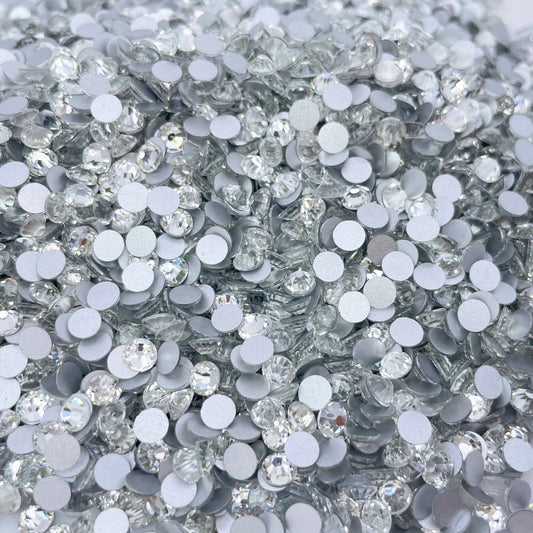
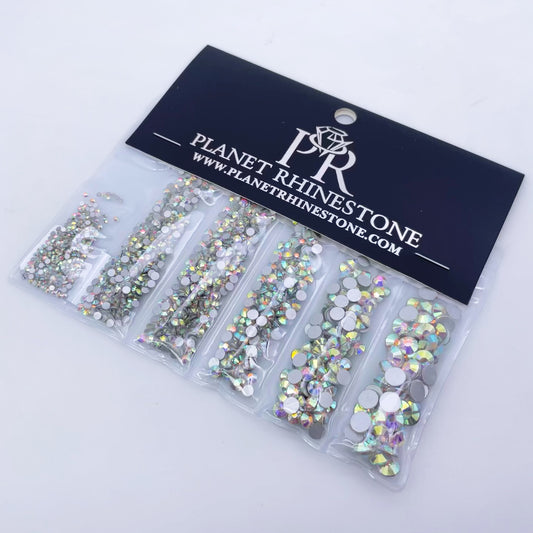
Crystal Glass Rhinestones
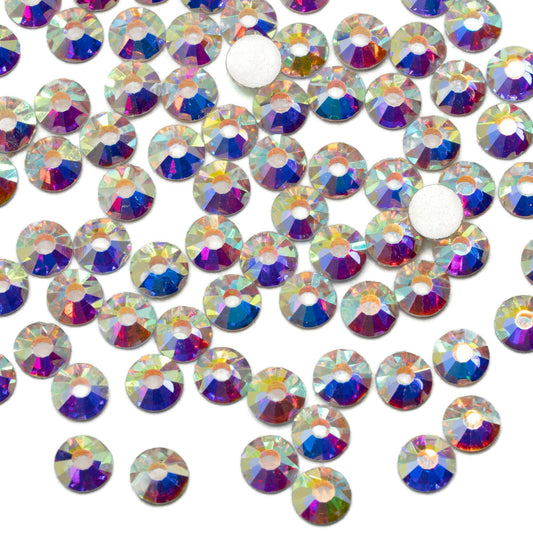
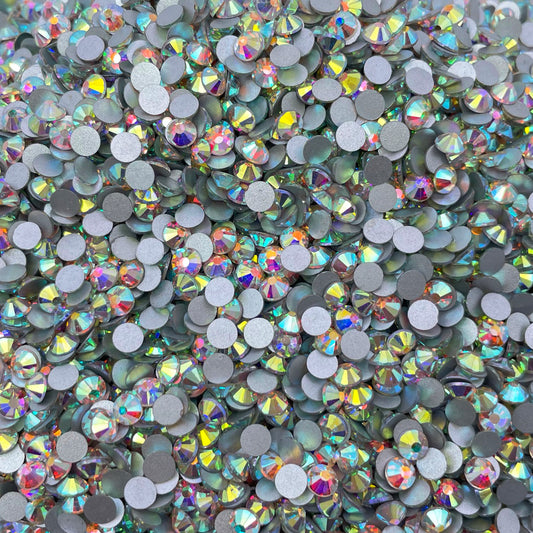
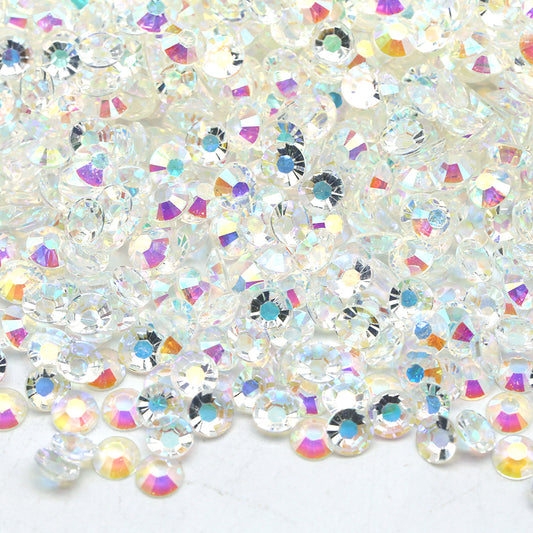
AB Glass Rhinestones

Rhinestone Elephant Hotfix Transfer

Rhinestone Mushroom Hotfix Transfer

Kitty Rhinestone Hotfix Transfer

Crystal Rhinestone Wing Hotfix Applique Pair – BSP-40
CURATED FOR YOUR CRAFT
Tailored collections for nail pros, apparel creators, DIY crafters, and beyond.

EXPLORE COLLECTION
Nail Artists
Gems, kits & tools for next-level nail art.

EXPLORE COLLECTION
Flares
Rhinestones & appliqués made to sparkle.

EXPLORE COLLECTION
DIY Creators
Unleash your inner designer.
Planet Rhinestone Reviews
Let customers speak for us
Always satisfied with the amazing quality. All around ordering and shipping is fast, easy and it’s always delivered promptly!
Love those size 20
Great iridescent sparkle and weight.
I stone a lot of dance accessories for my kids and had a hard time picking out the right yellow for a couple of projects. I ended up settling on Citrine AB and have found that the AB finish lets it work with multiple shades of yellow. The multipack is a great value if you need a variety of sizes for one or two small projects, although you'll do better buying individual sizes if you need to cover more area. I've ordered many stones from Planet Rhinestone and they've all been great quality -- no issues with cracked or broken stones, fogging, bad finishes, or other problems. I recommend them to other parents at dance all the time.
I liked the dark emerald rhinestones quality in SS10. It matched the dark emerald color in the video advertised. Good cut and shine. Makes the leaves on my project pop.

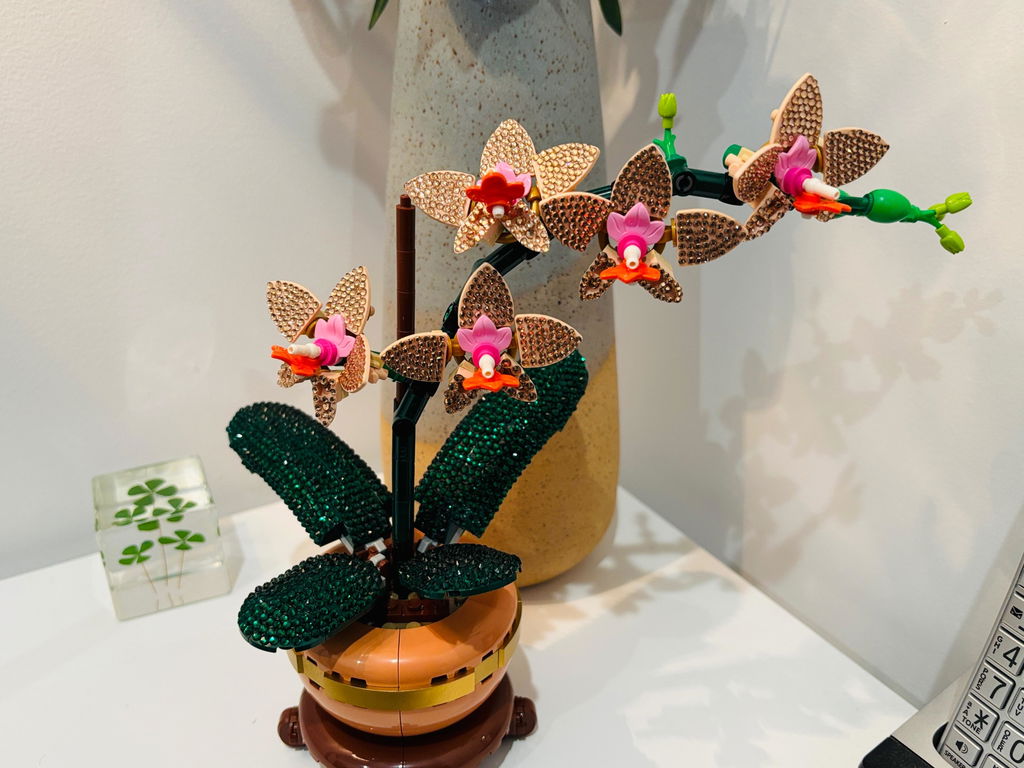
Good quality, cut and shine. Color matches photo advertised. Worked well for my peach orchid project.
I absolutely love this stone! It’s beautiful and shows up so well on stage! Highly recommend
Quick and easy to use.
They look exactly like the photo and shine great.
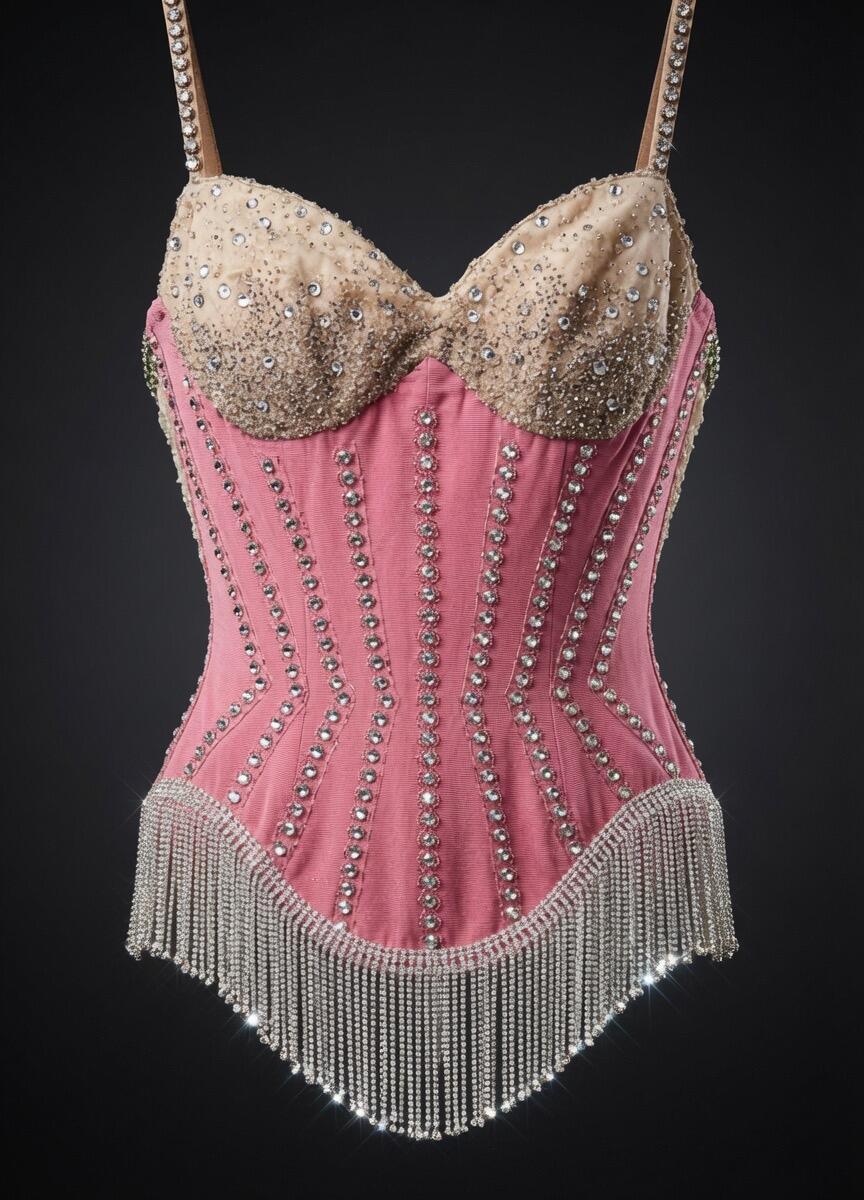
I’ve been crafting, customizing apparel, and doing DIY projects for years, and Planet Rhinestone has become my absolute favorite supplier. Their selection is massive — from premium glass rhinestones and vibrant jelly rhinestones to stunning appliqués, iron-on letters, fringes, bodices, and everything in between. No matter how specific my project is (a particular size, color, or style), I can always find exactly what I need, often with multiple options for hotfix, flatback, or sew-on. 
The quality is consistently excellent — the stones sparkle beautifully with very few imperfections, and the colors (especially the opals and AB effects) pop in real life. Prices are fair for the quality, especially with their multipacks and bulk options, and free shipping on orders over $75 makes it even better. Shipping from LA is fast, packaging is secure, and customer service is responsive. 
Whether I’m bedazzling prom suits, creating custom jackets, or making gifts, Planet Rhinestone delivers every time. Highly recommend to beginners and pros alike — you won’t be disappointed!
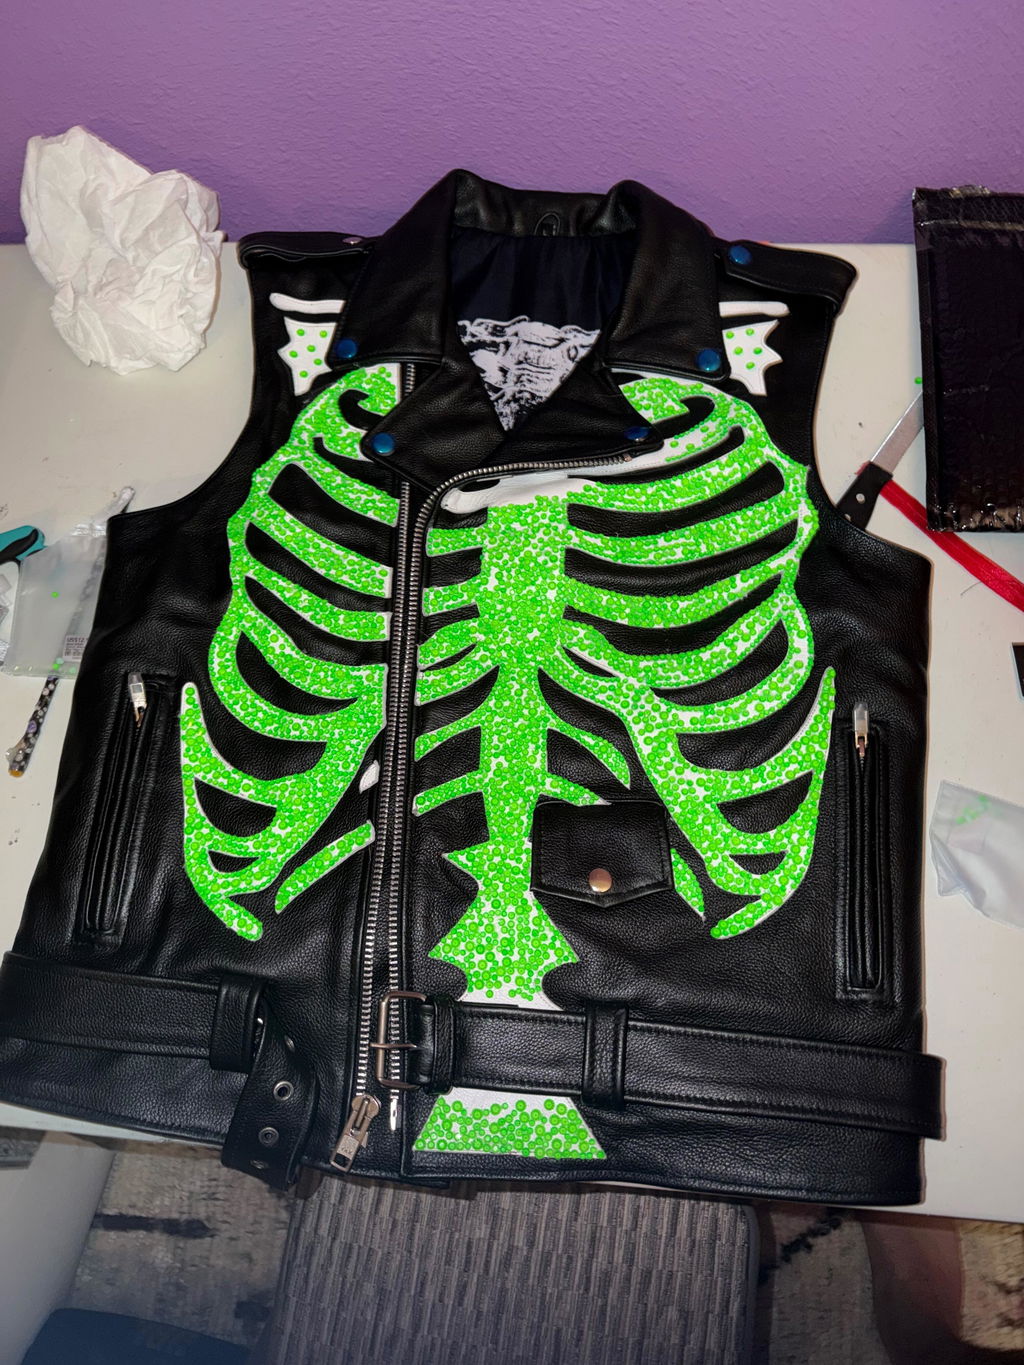
They worked great for a jacket I have been working on!!
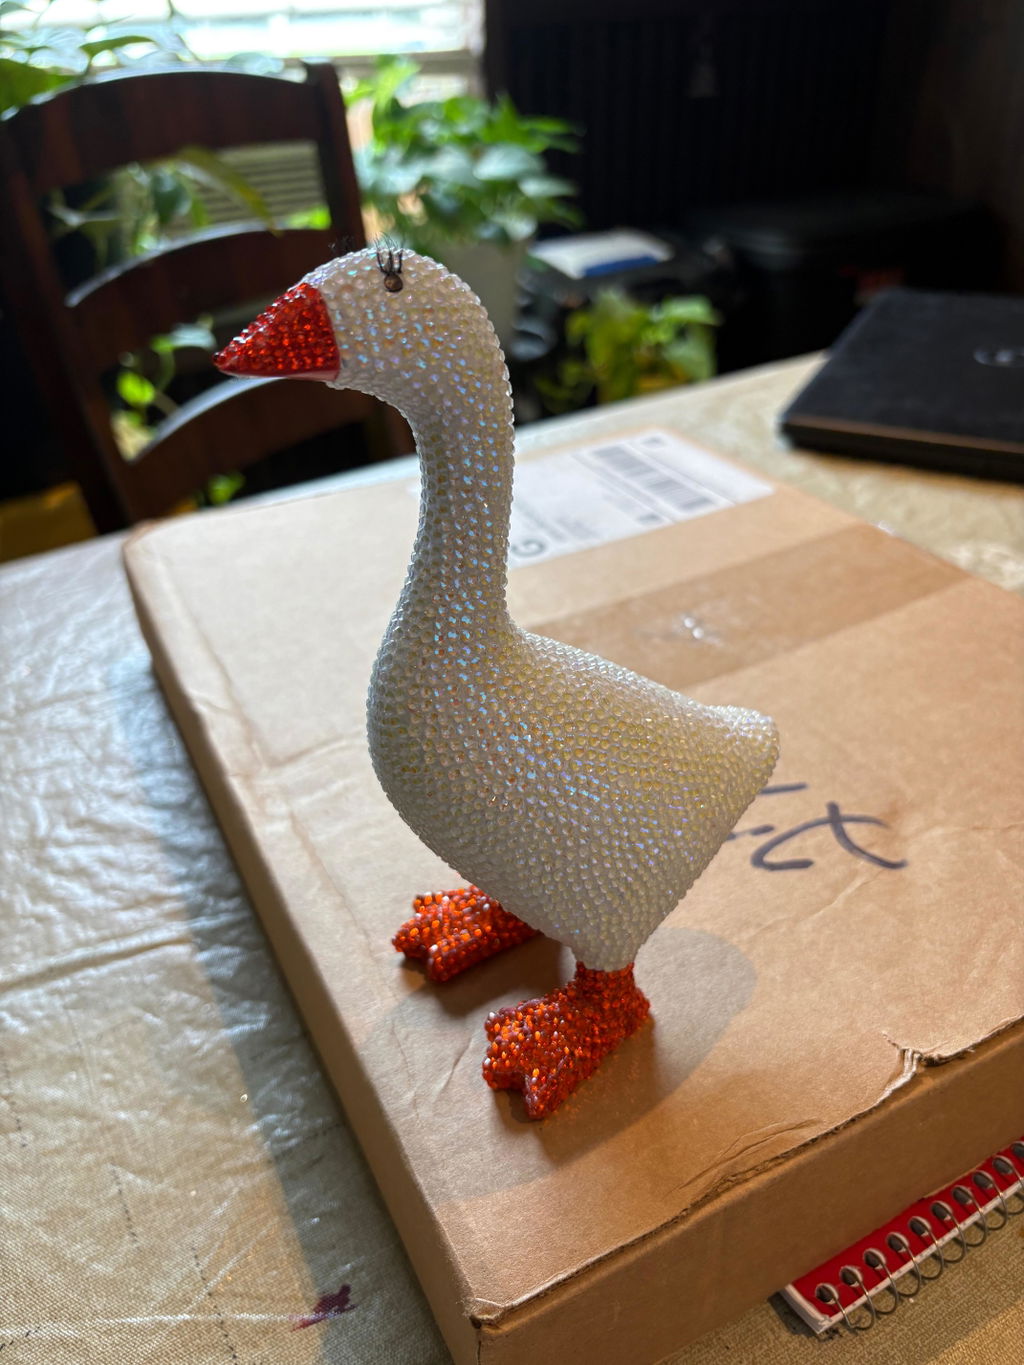
These rhinestones are so good. I used them to bedazzle my desk goose and it looks so good!

That cross was exactly what my client wanted! He was all smiles at the reveal! Thank you for your expedient response and delivery!
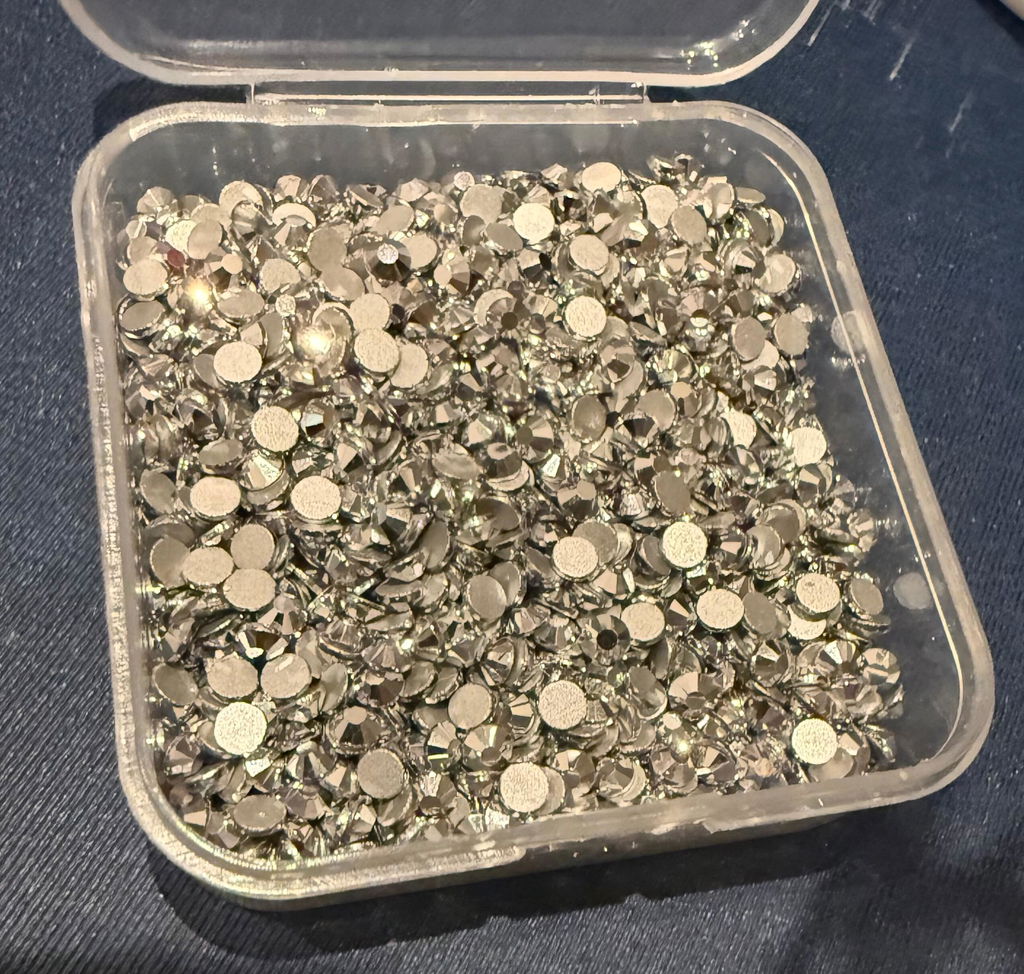
The stones were wonderful to work with and the separated multipack made it so much easier. I didn’t have to search for the right size.
I am using these rhinestones yo do the whole interior of my car! They are far more beautiful than I imagined and amazing quality. Super satisfied
Rhinestone Tutorials & DIY Tips to Inspire Your Next Design


Planet Rhinestone FAQs
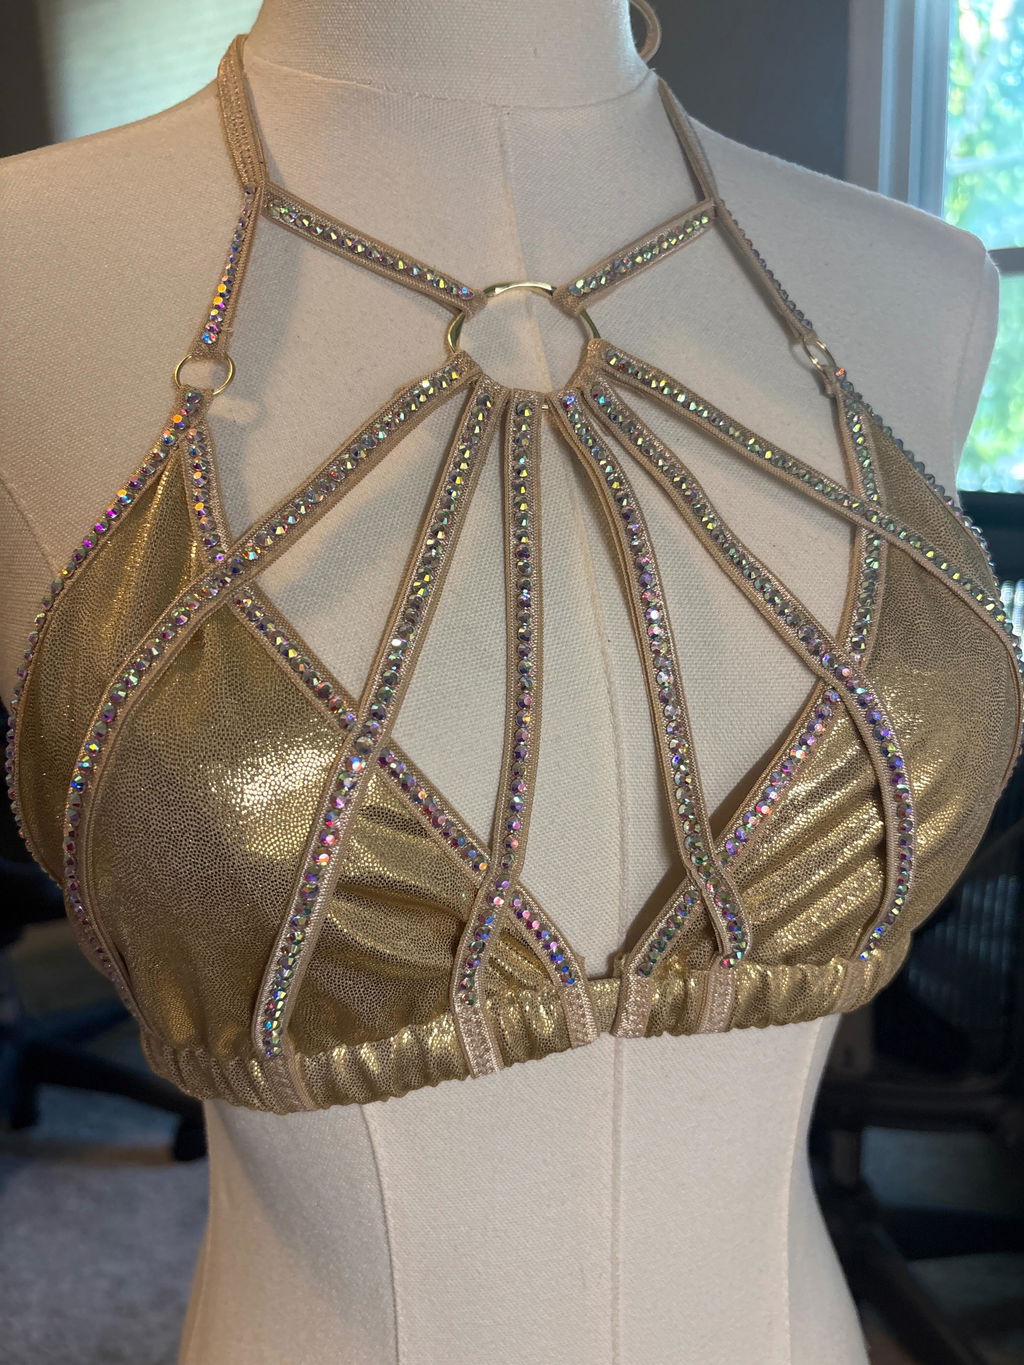
We carry a wide variety of rhinestones to suit every project and skill level. Our collection includes glass rhinestones in flatback and hotfix styles, jelly rhinestones made from vibrant resin, pointed-back rhinestones, sew-on rhinestones, nail art crystals, rhinestone appliques, rhinestone fabric and sheets, and rhinestone trims and bandings. We also offer kits for beginners and bulk/wholesale options for larger projects.
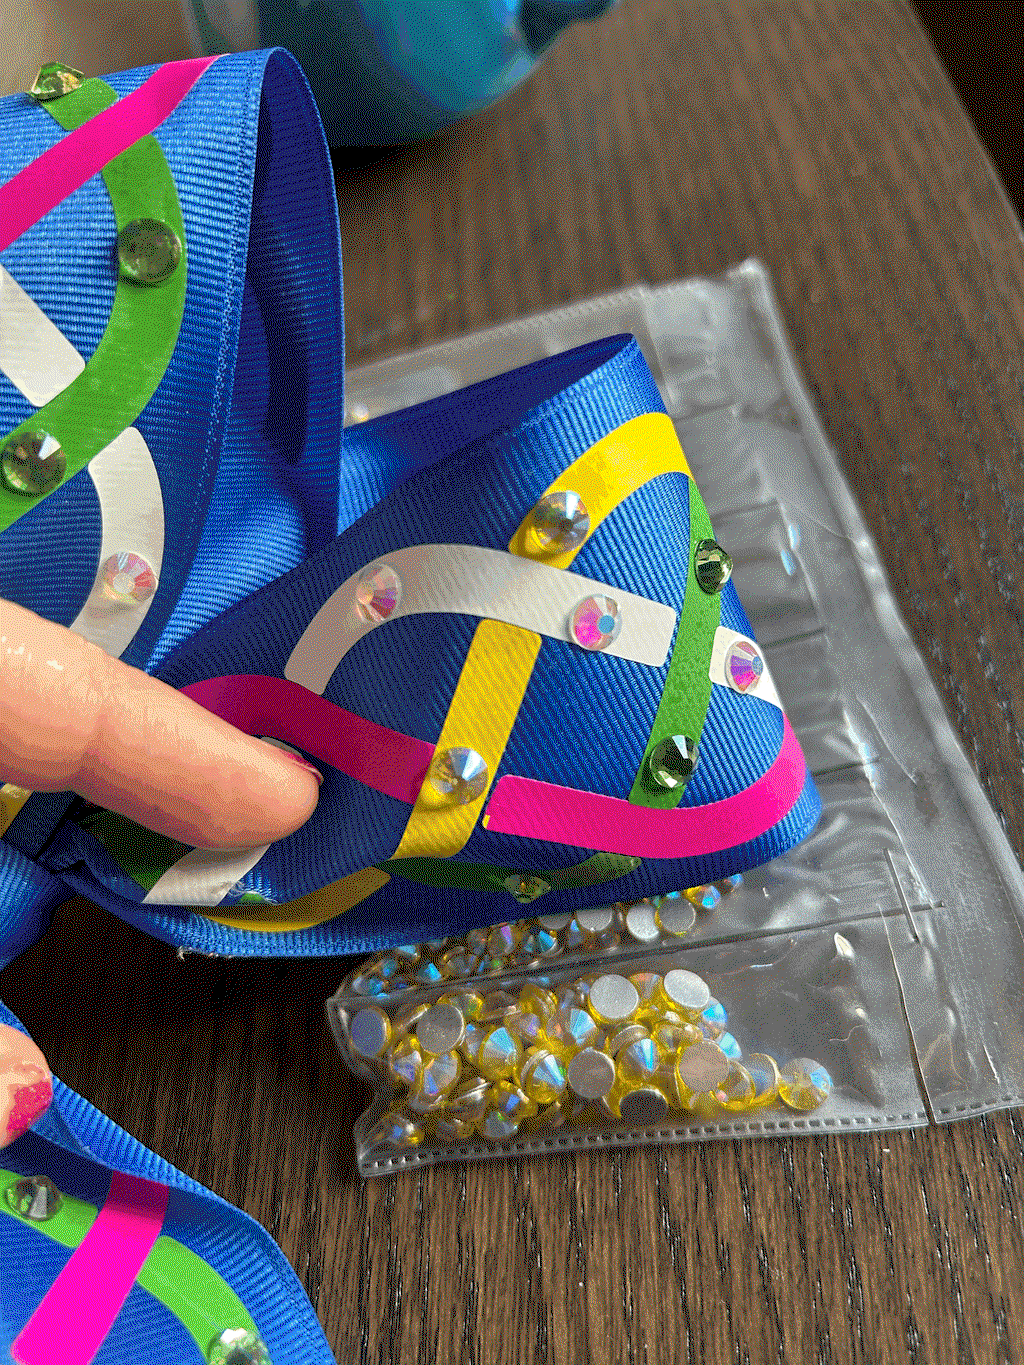
Hotfix rhinestones have a heat-activated adhesive pre-applied to the back. You apply them using a heat tool or iron, which melts the glue and bonds the stone to your surface. They are ideal for fabric and apparel projects. Flatback rhinestones do not come with adhesive. Instead, you apply them by hand using a craft glue or wax pen, which gives you more control and works on a wider range of surfaces including phone cases, nails, wood, and decor.
Yes! We offer bulk and wholesale rhinestones in both glass and jelly styles. Bulk packs are available directly in the shop, and we also have a dedicated wholesale program for business customers. The more you buy, the more you save. Visit our Wholesale page to apply for business pricing.
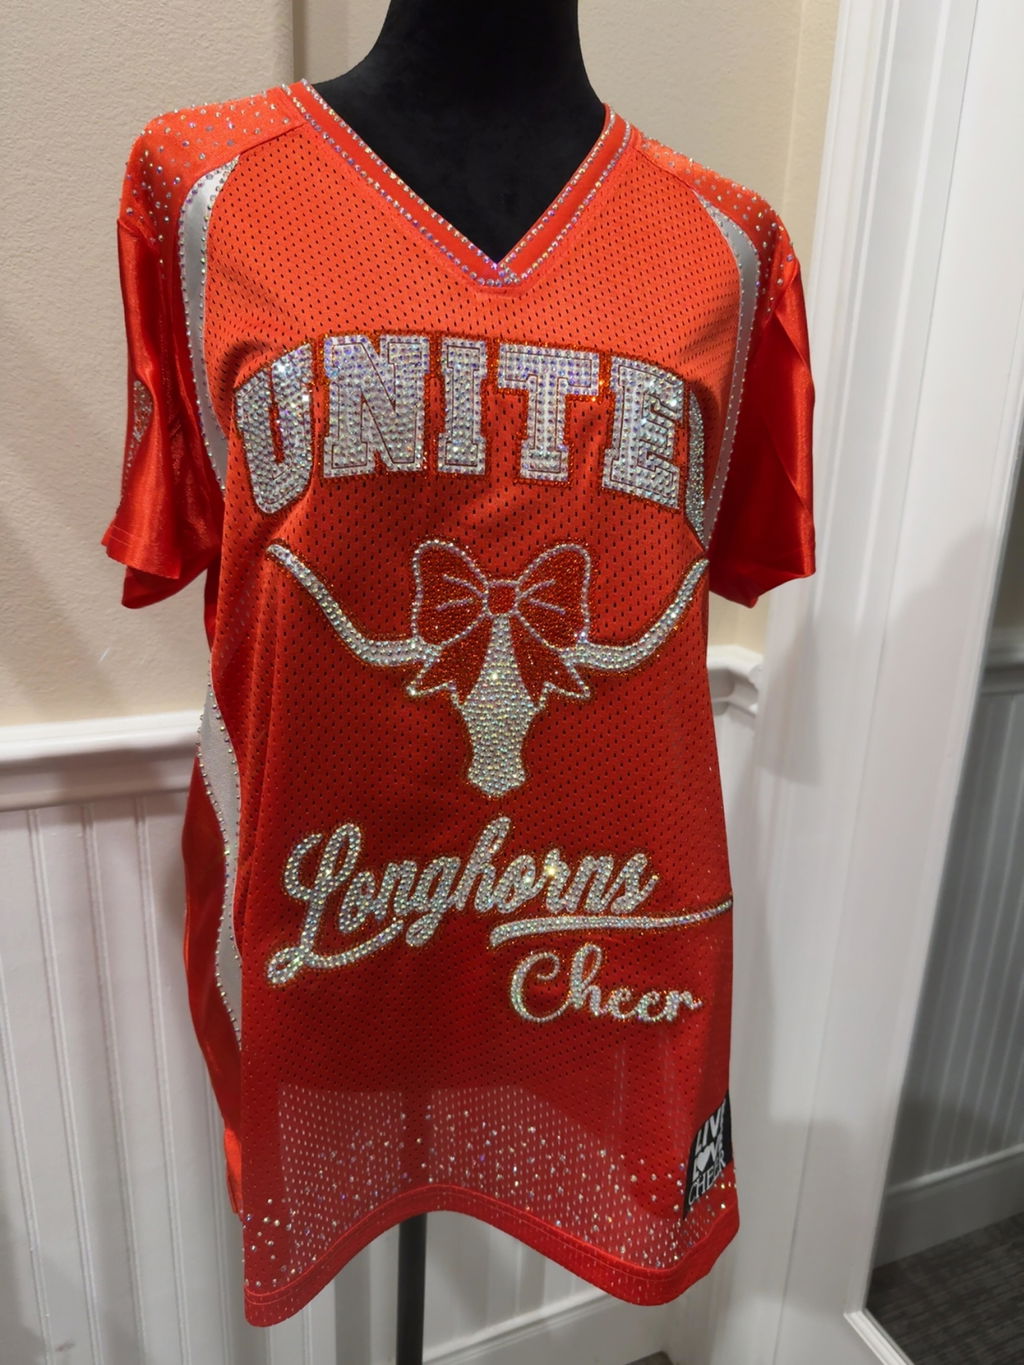
Absolutely. Our hotfix rhinestones are specifically designed for use on fabric and can be applied with a household iron or heat press at around 325 degrees F. They are durable, fade-resistant, and hold up well to regular wear and washing. Our rhinestone appliques and hotfix transfers are also a popular choice for quickly adding sparkle to garments, dance costumes, cheer uniforms, and more.
Yes! We offer free U.S. shipping on all orders over $75. We ship fast from within the United States, so you can get your rhinestones and get creating without the wait.

FOLLOW US ON INSTAGRAM
Find your inspiration on our Instagram @PLANETRHINESTONE


